DIY, How to install your tiles on a concrete floor?
In this blog we will guide you through in how to prepare your floor for your tile installation, and key points to note when laying your tiles on your concrete floor, anyone can take on this task, below are the steps to follow. So what are all the steps?
How to prepare your floor
1. First measure your floor to the correct square meters to ensure you buy the correct amount of product. We always recommend that you include at least 10-15% for cuts and waste in your final calculations.
2. Remove any existing material you currently have on your floor, this may be older tiles or laminate flooring etc., and clean the surface of dirt and debris. Use a self-levelling compound to ensure the floor is perfectly level and flat, this makes your installation process much easier.
3. We recommend leaving the compound for the appropriate period to dry before moving forward with your installation.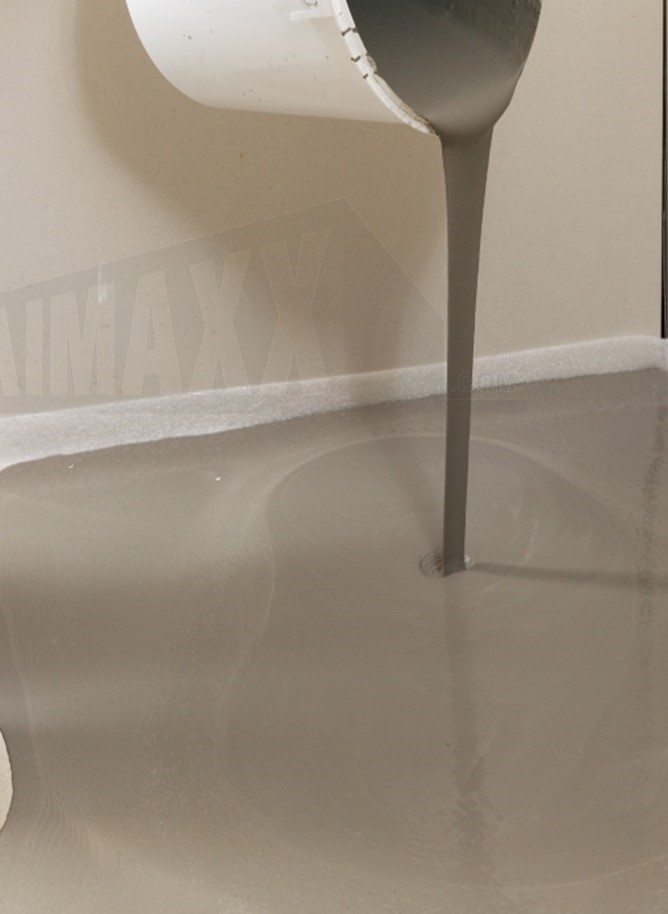
Lining up and measuring your tiles for cutting
1. First, begin by using a level and putting a chalk line across the centre of the space. Find the centre of that line and draw a perpendicular chalk line. Both lines should stretch across the installation area and create a cross or "x" on your floor. These lines will be your guide for the first rows of tiles.
2. Next, lay your tiles out across your lines with spacers to get an idea for your design. If your tiles require any cuts, which they often do, try and ensure to either hide these cuts under something like a cabinet etc. or if it is a wall-to-wall installation then try and split the cuts so that the tiles at the start and finish are of equal cuts. This layout will help with the appearance of your final installation, so it is advisable to take your time to adjust your measurements if necessary, to create an accurate layout for a much neater finish. We recommend conducting your cuts before starting your installation as this would make to laying of your entire floor a quicker and easier process, make sure to label each piece before putting them aside.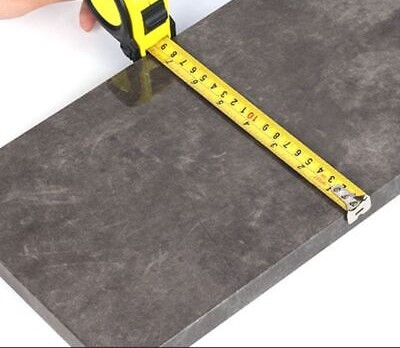
Laying tiles to your prepared surface
1. Mix the appropriate adhesive for your installation according to the manufacturer's instructions. It is advised to wear some protective gear such as a dust mask, goggles and gloves when working with adhesive as it is not recommended to inhale adhesive dust when mixing and it can also be irritating to your skin and eyes. We at Travertine Store recommend white adhesive, as this tends to be generally suitable for all sorts of installations, whether installing man-made porcelains or all-natural stone tiles. Use a notched trowel, generally a 1/2" or 3/8" square notch, and spread the adhesive on a 2-3 square foot of surface at a time. Hold the trowel at a 45-degree angle with the teeth of the trowel touching the floor and simply drag the adhesive to create the lines. Also, apply a thin smooth layer of adhesive to the back of your tiles. Lay the tile down onto the floor onto the adhesive and apply pressure to create a bond applying a very slight side-to-side movement to collapse your adhesive lines to ensure full underside adhesive uniformity for better adhesion. Lay down your next tile in the same fashion with spacers in between each of your tiles. As you check to ensure each tile is level, make sure to remove any excess adhesive from the tile face and grout joints. Repeat this process across your entire floor.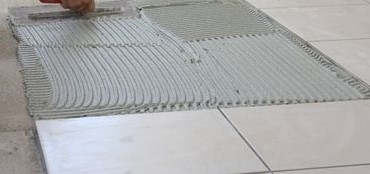
2. Once the adhesive sets and is dry, you can begin applying your preferred colour of grout (if installing natural stones, this is when you should apply your first coat of natural stone sealant to protect your tiles from staining and wait for the recommended period). Mix your grout according to the instructions on the packaging. Apply your grout to your grouting gaps using the grout float in a cross-sweeping pattern, held at a 45 degrees. The grout should be pushed over the tile joints in 2-3 directions to ensure they are appropriately filled in, this ensures that the gap has no air pockets.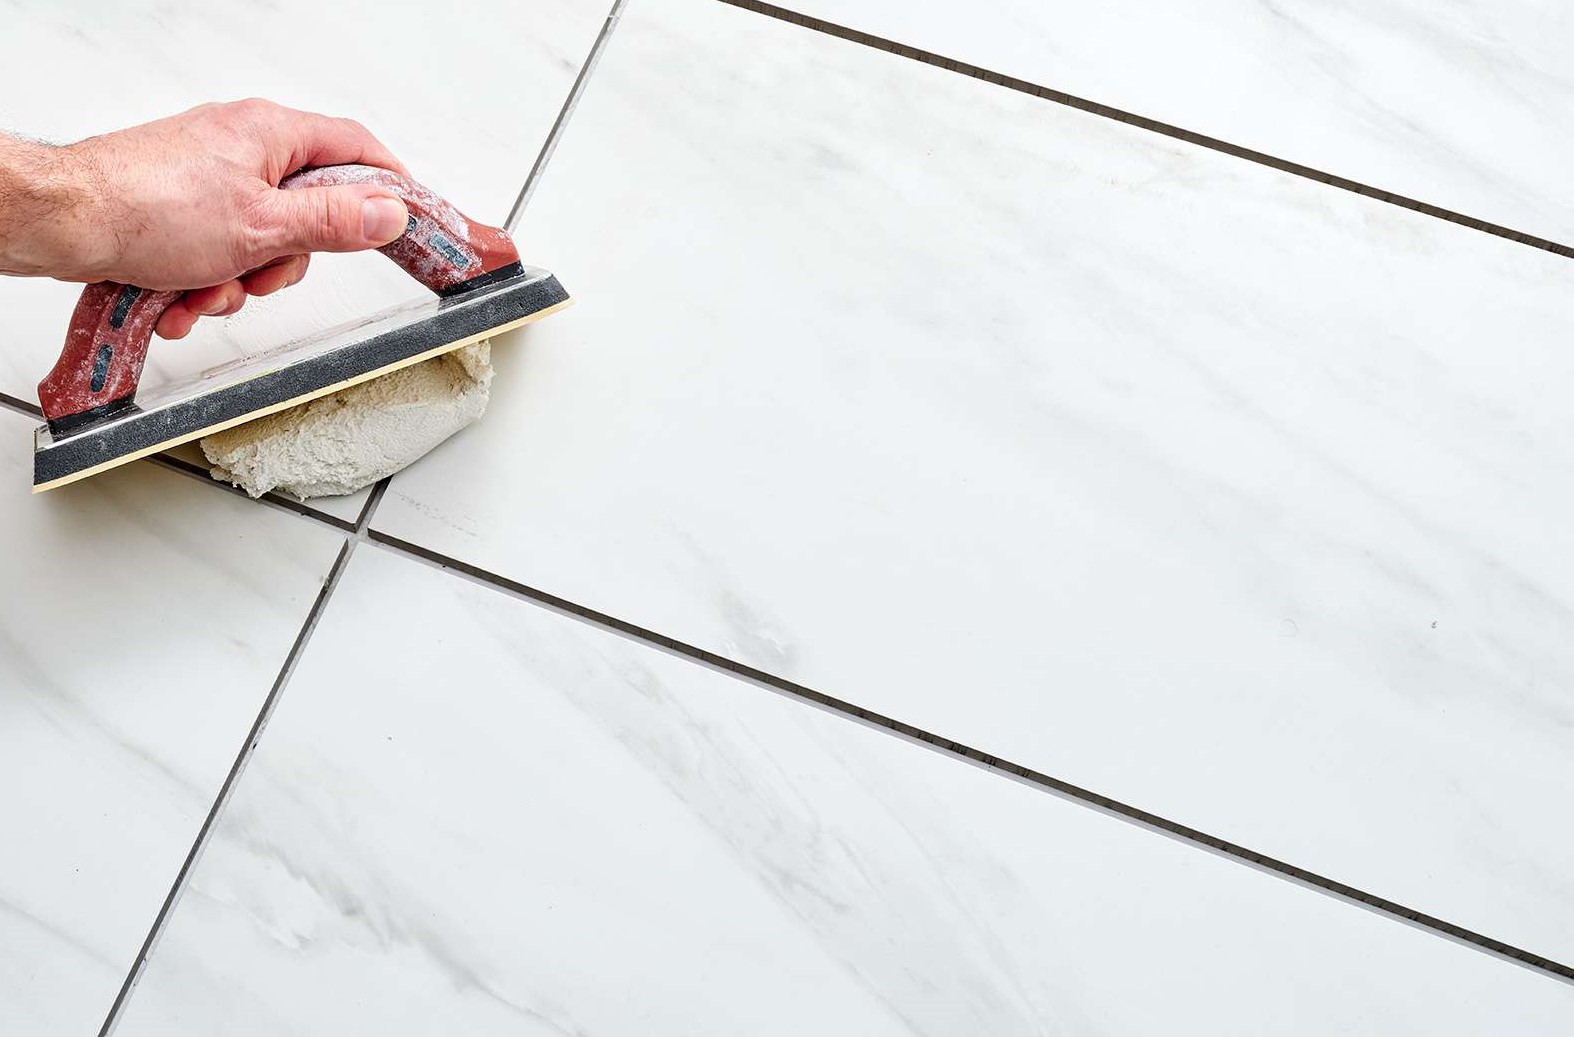
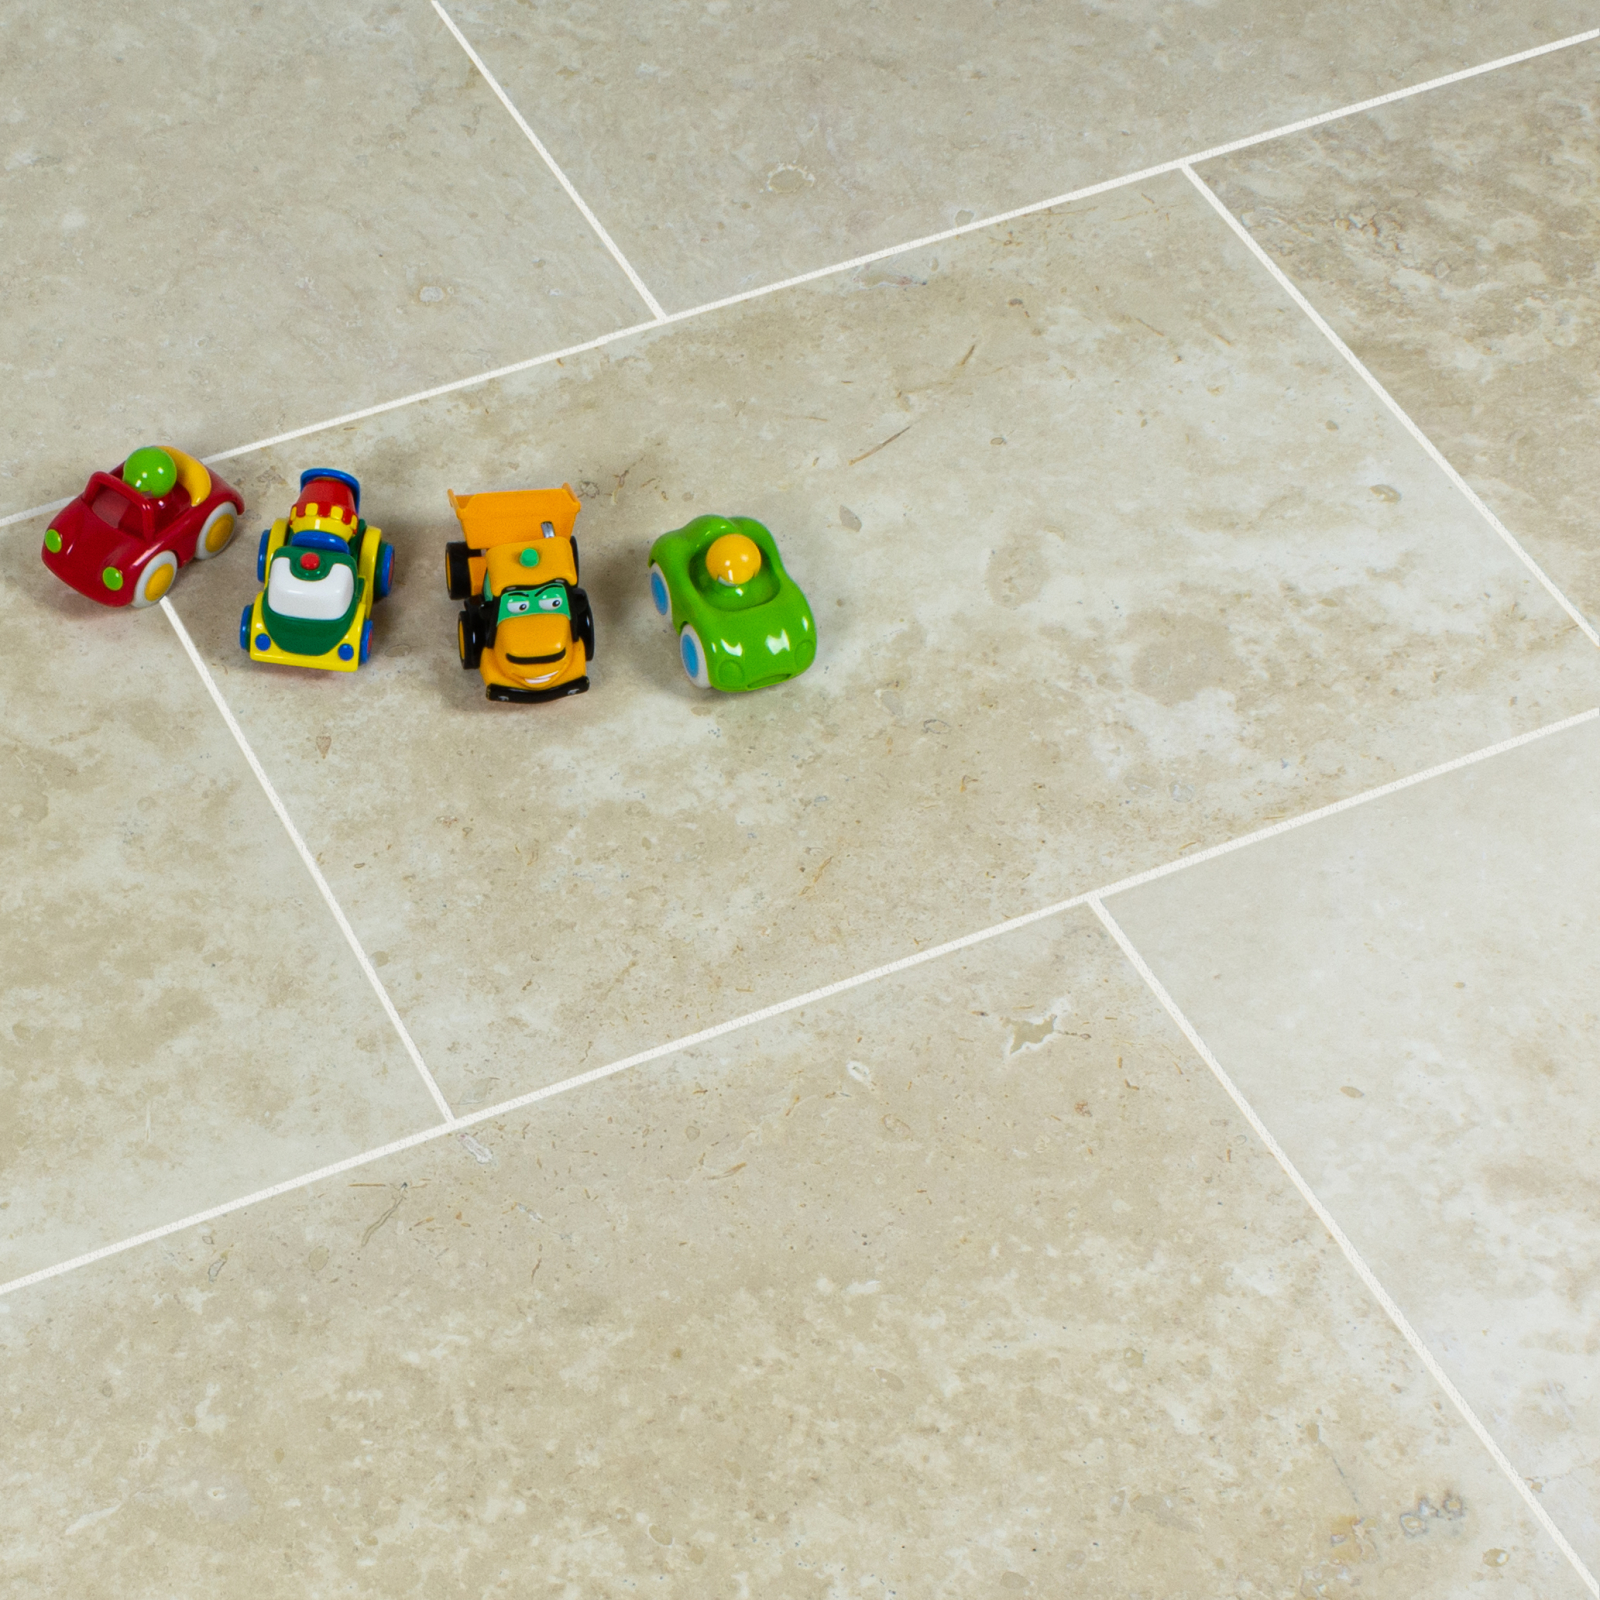
Cleaning your tiles
1. Make sure to remove any excess grout within 5-10 minutes after application using a clean moist sponge. This is usually when the grout starts creating a little haze on your tiles, don’t wait too long as this will make it much harder to clean the grout off your tile surface. Fill a clean bucket with water and use your sponge to wipe your floor. Make sure not to use too much water or try and clean your tiles in a circulating motion. The easiest method is to pull the sponge towards yourself. This process will need to be repeated more than once on polished or textured tiles.
2. Use a clean, dry cloth to dry your entire surface.
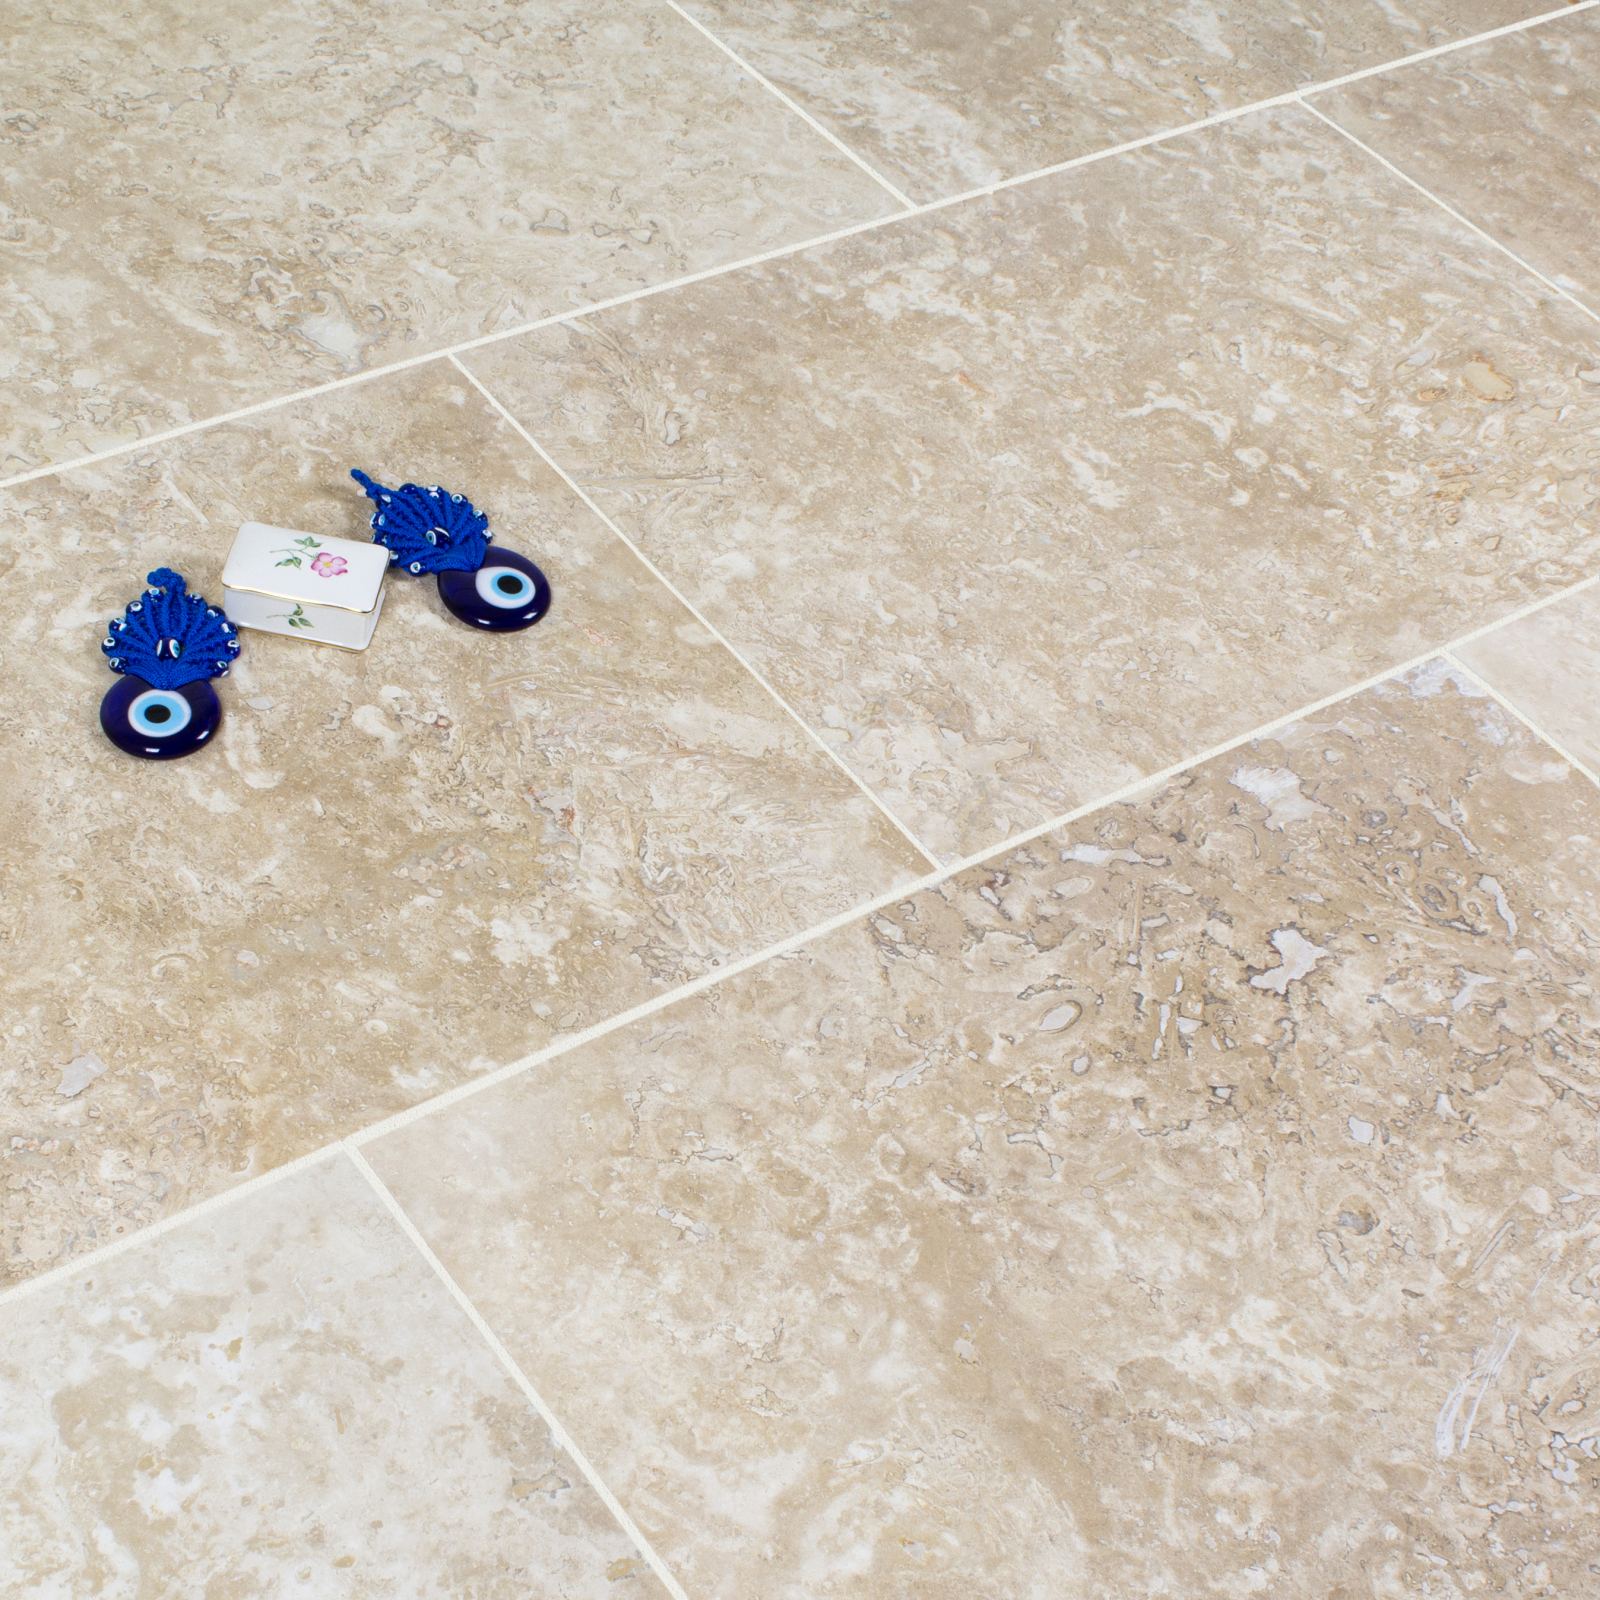
3. All natural stones require sealing once before and once after grouting, most grouts also require sealing, although some grouts do come already with the sealer mixed. Sealing natural stone is an ongoing process which should be applied at least once a year.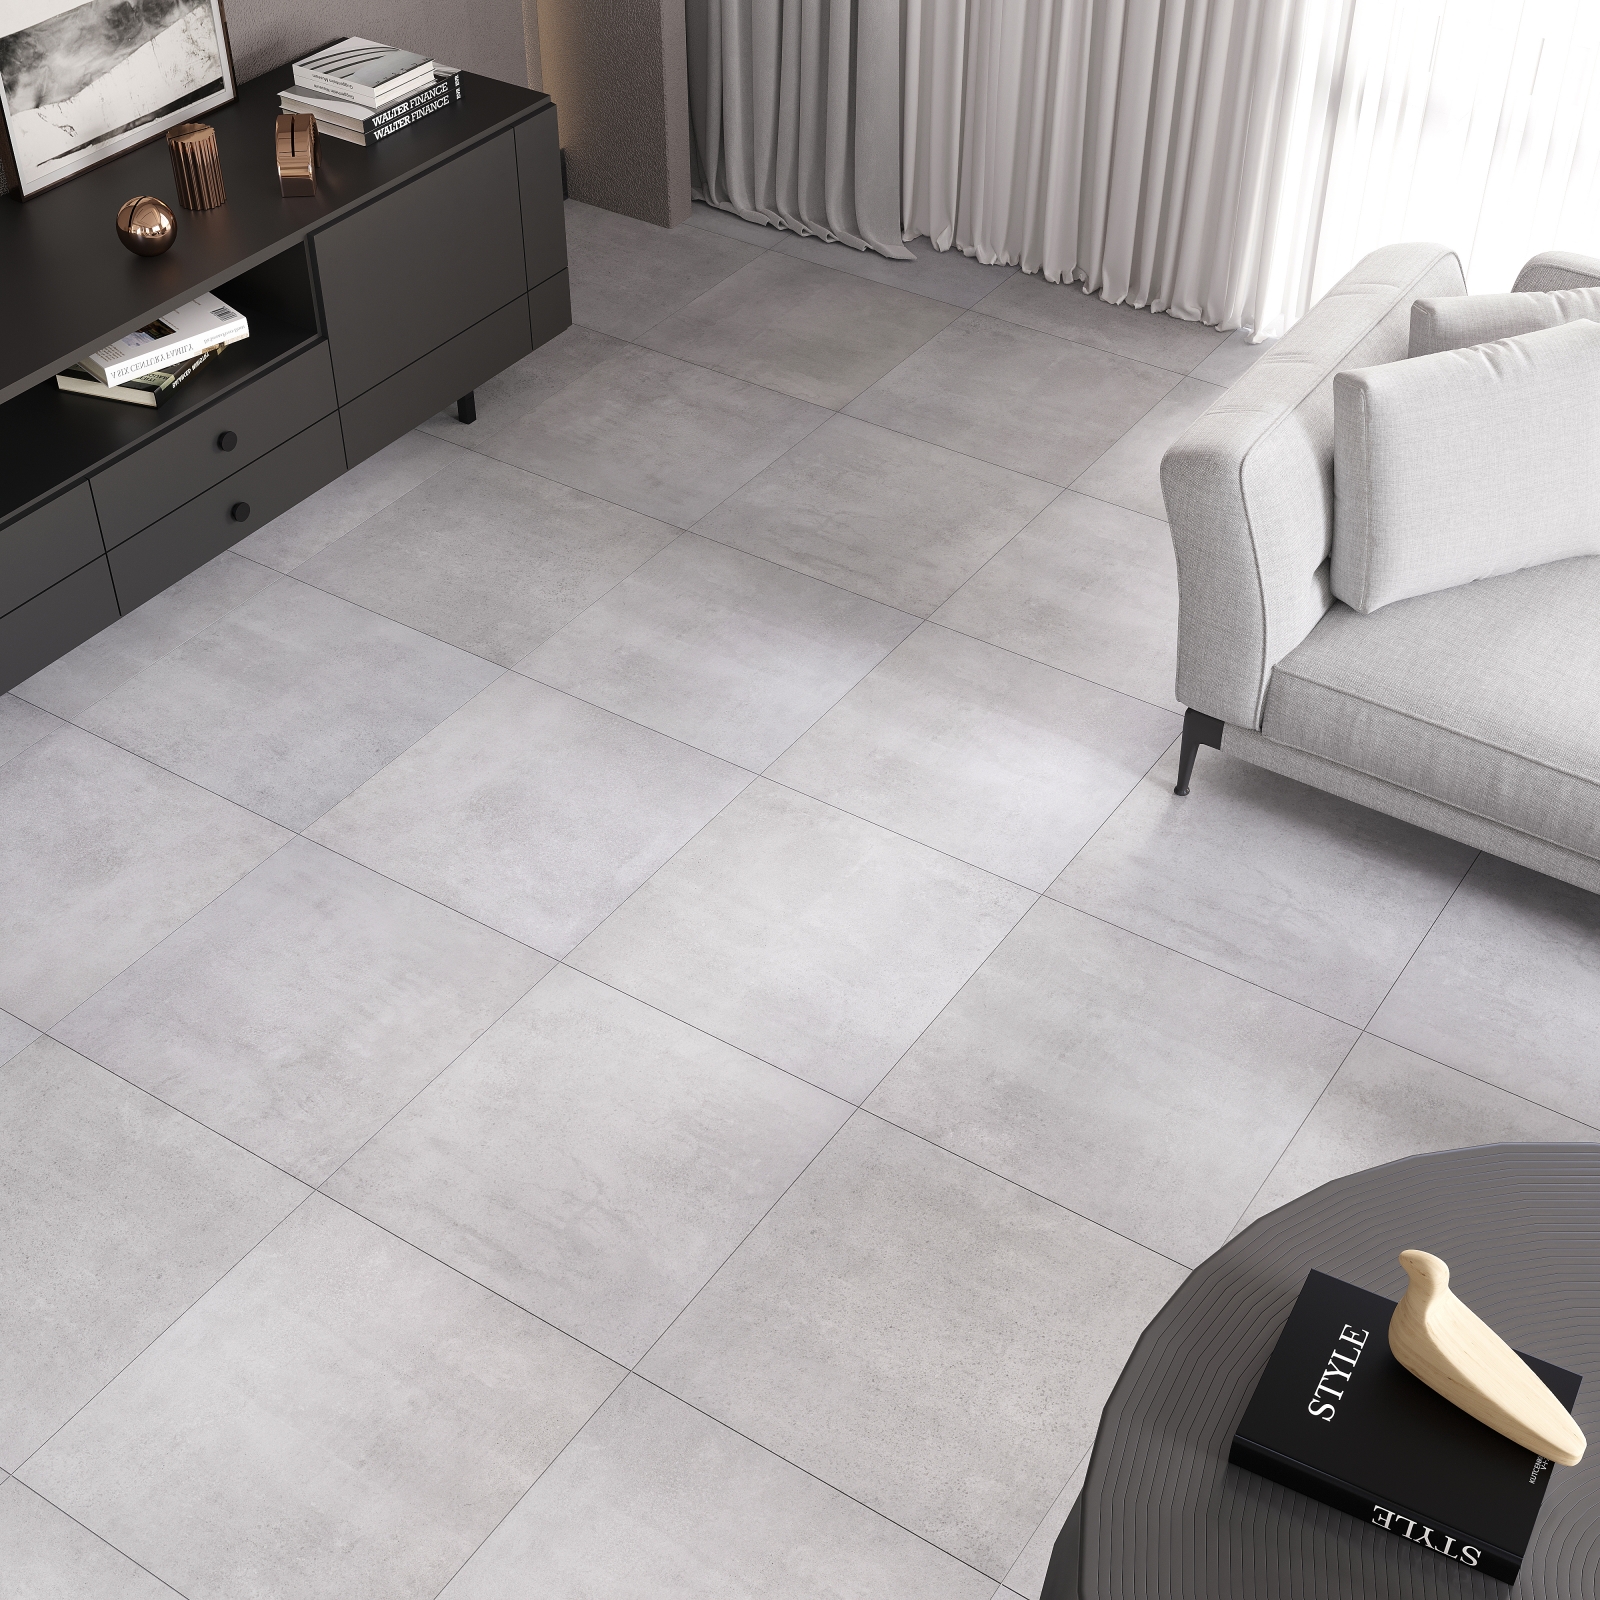
Now, sit back and admire your finished project.
Tools and equipment list.
1. Tiles
2. Adhesives
3. Leveller
4. Trowel
5. Spacers
6. Measuring tape
7. Cutting tools
8. Grout Float
9. Sponge
10. Sealer
11. Personal protection equipment
12. Bucket
13. Water

 REVIEWS


